Advanced Coin Photography | Capturing Detail in Dark Coins
It can be tricky to capture clean, sharp detail in dark coins when the natural tendency is to photograph a dark coin dark as, well, dark. This is often made worse when photographers try to capture a dark coin and dark background with a single exposure.
Underexposing a dark coin is a problem you can’t fix in post-production without degradation of the image, so it’s important to capture the shadow detail when shooting, or it’s lost for good. This is true for landscape images as well as coin images. To help photographers with this problem we can use a simple technique known as Exposing to the Right, or ETTR.
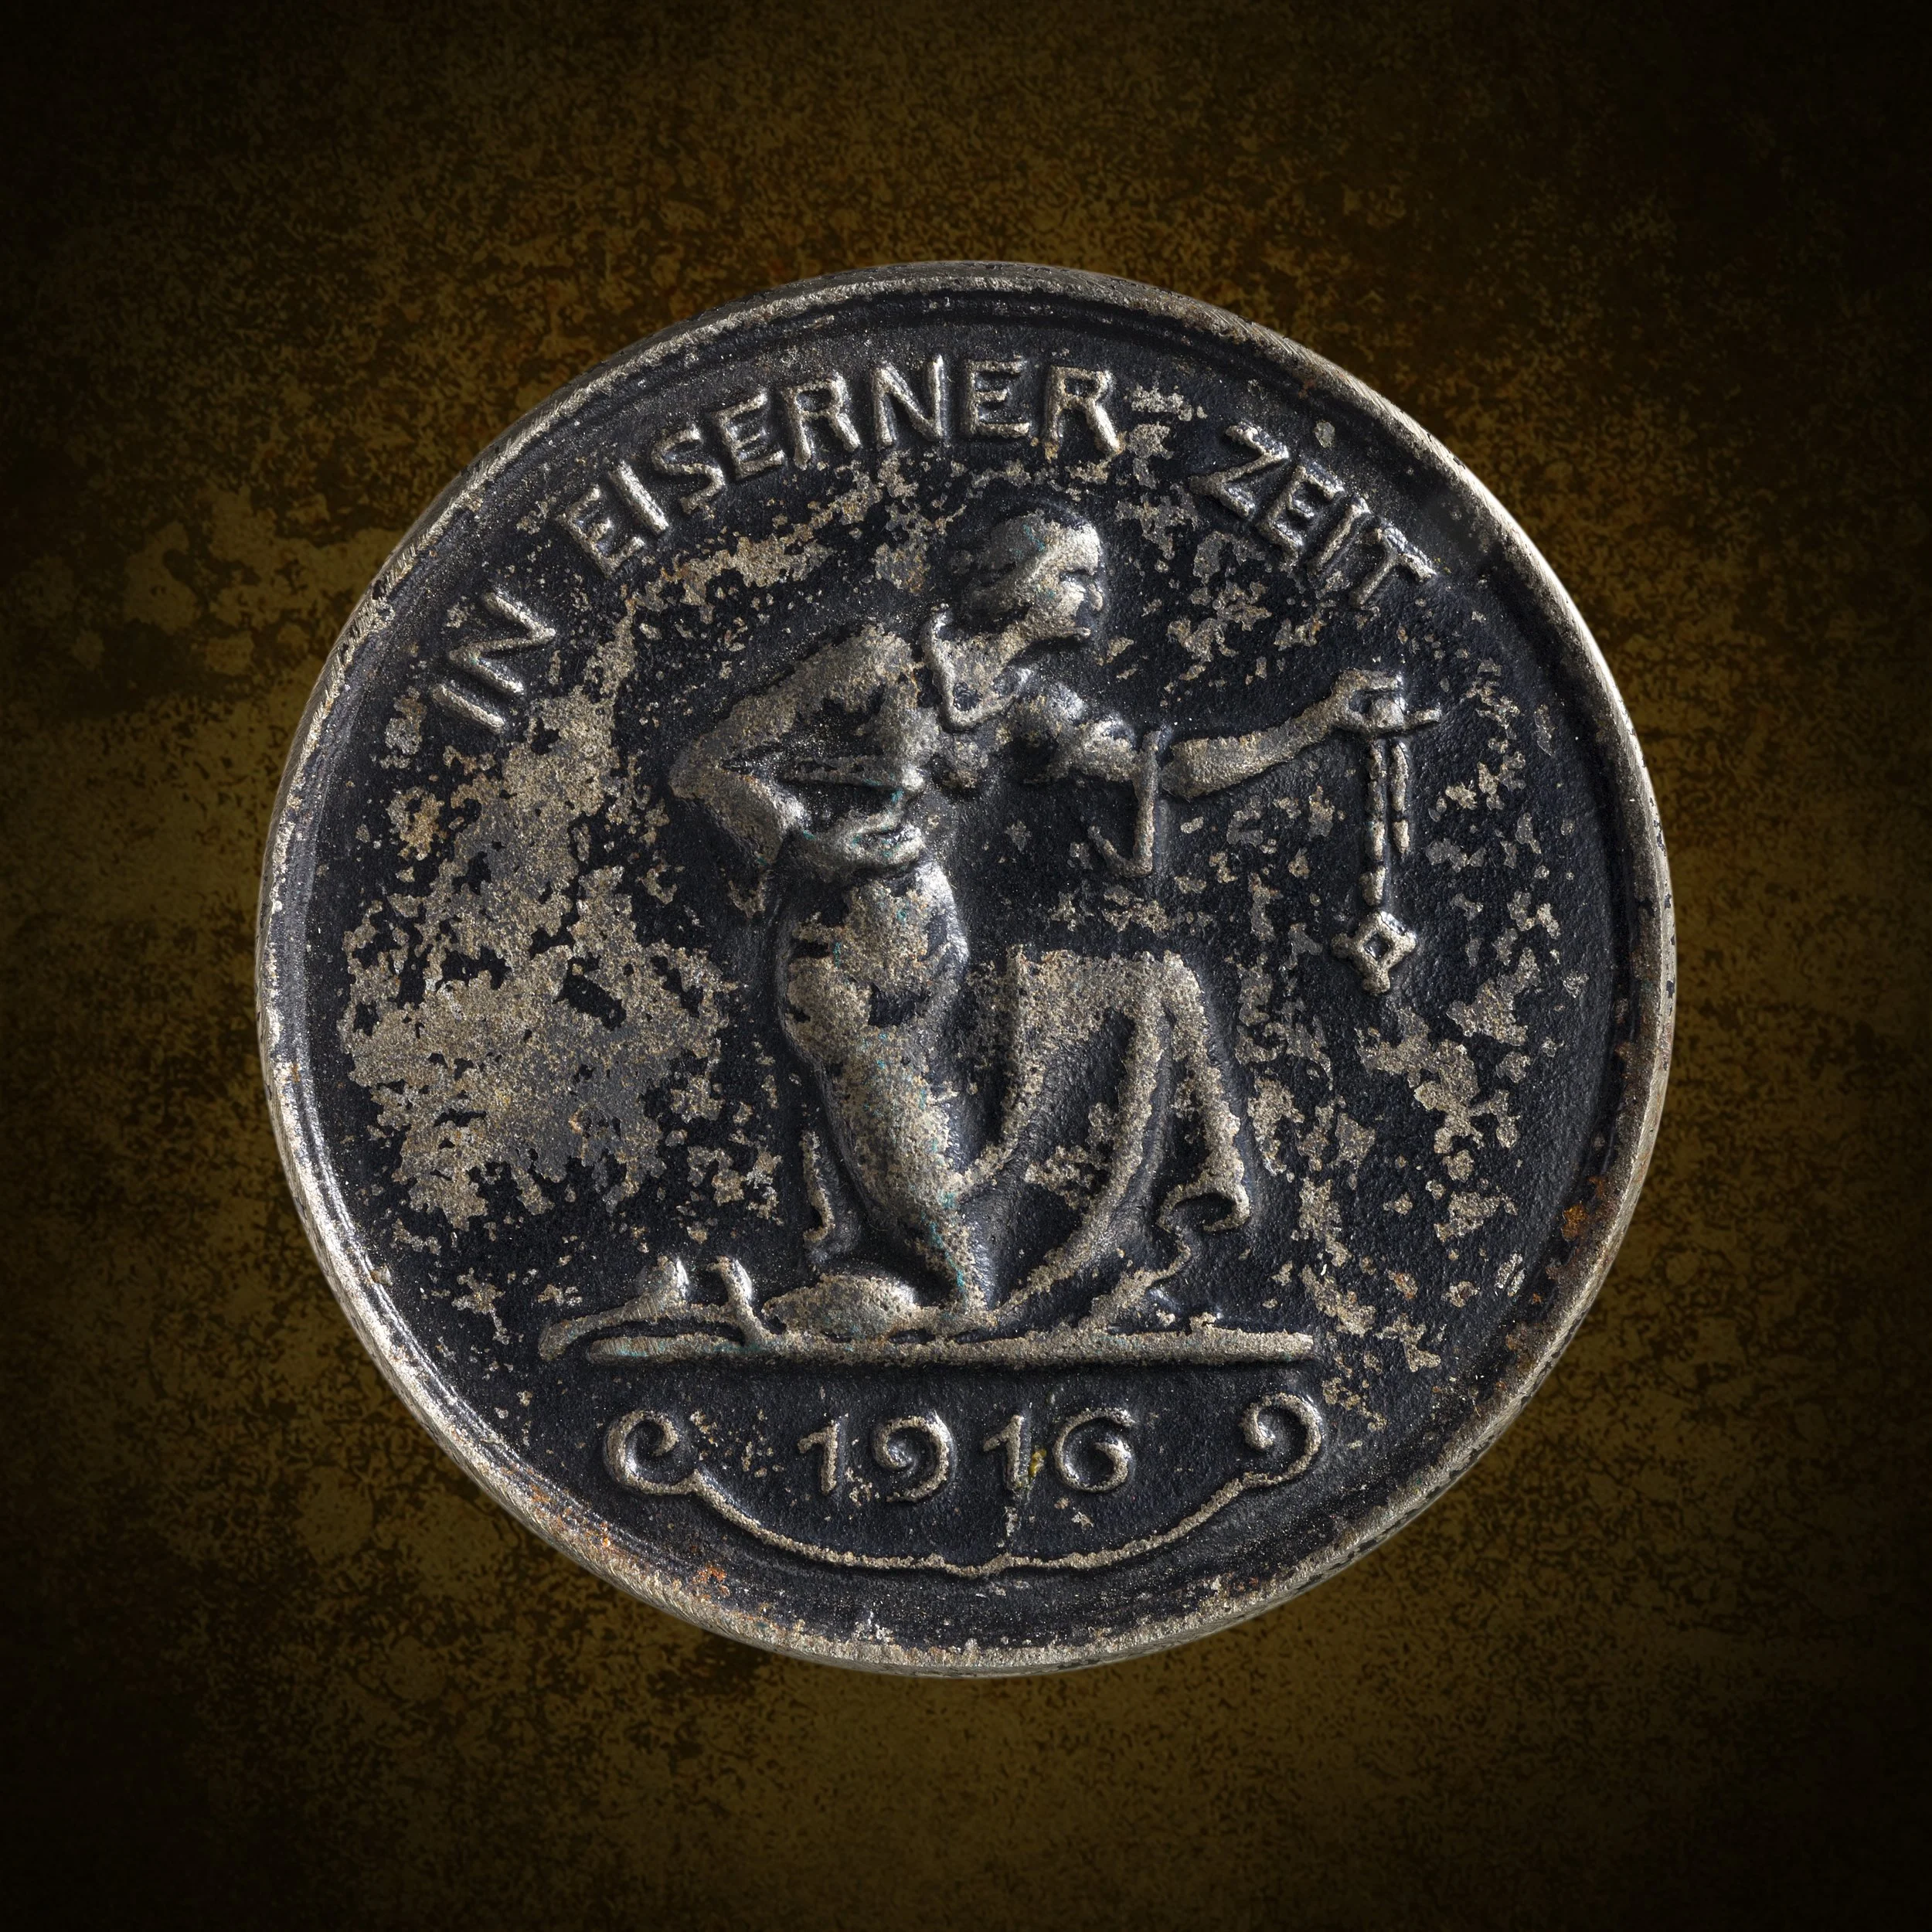
Wartime German Medal, from 1916, made of blackened iron.
It’s been said “Everyone’s a photographer until you switch to manual”, and in this article, we’re taking the camera off the “Auto” setting, and shooting in Raw format to properly capture dark coin images like the shots included here.
Switching to raw
Exposing to the right, or ETTR, is an approach to photography that is as helpful as it is controversial. Essentially, it is exposure compensation, but there is an important image quality component to it. As a coin photographer, your intention when shooting a dark coin is to capture as much clean, sharp detail in the shadows as possible, without clipping any of the highlights on the other side and losing information along the way. Of course, this requires using the correct exposure. Your approach to exposure depends on whether you are using the JPEG or Raw format. If you’re shooting JPEGs, you need to get the exposure as accurately as possible at the time you shoot. You can adjust exposure in post-processing, but thanks to the limited bit-depth of JPEG files it’s best to think of that as fine-tuning rather than as a way to compensate for over or under-exposed images. If you’re shooting Raw however, the aim is slightly different. You want to create the best possible Raw file for post-processing, and that means one that contains as much information as possible that can be used by your Raw processing software. An important point about exposing to the right is that, for these reasons, it only works with Raw files.
You can’t rely on the meter
For dark coins, you can’t rely on the camera’s built-in meter to determine the correct exposure. It’s not the right tool for the job. Personally, I don’t use the camera’s meter at all in coin photography, but with ETTR particularly, the exposure is established by your review of the camera's other exposure indicators, like the histogram and/or the highlight-clipping indicators (blinkies/zebras). This makes the built-in meter readings irrelevant.
collecting more light
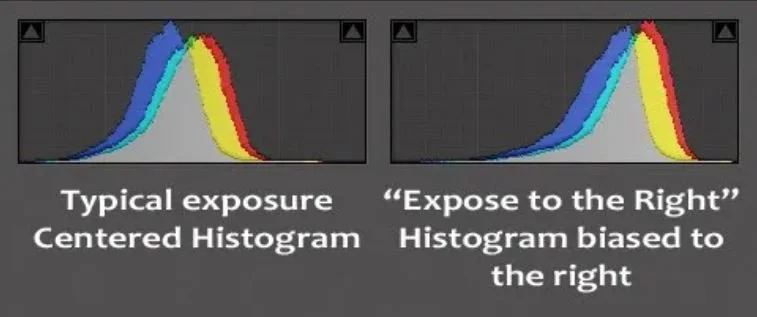
To take a step back, the term ‘expose to the right’ refers to the histogram associated with an image. Typically, for a shot to be well exposed, we are taught to aim for an even spread of tones across the histogram, peaking in the middle, and tapering off at the edges. ETTR is the technique of adjusting the exposure of an image as high as possible at base ISO (without causing unwanted saturation) to collect the maximum amount of light and thus get the optimum performance out of the digital image sensor. Typically, with low light / low-contrast scenes like dark coins, an increase in exposure over that indicated by the camera's meter will be required. The idea is the resulting Raw file, when processed to the correct exposure, will contain more tonal information and less noise in the shadow areas, maximizing your image quality. More about image noise in a moment.
The histogram in your camera, for your coin shot, may not look like the typical histogram image below, but the concept will be the same. It’s important to remember to review the area of your histogram that represents your coin, and not the background. If you are shooting a dark coin on a white background your histogram will have two mounds. One mound to the left, for the dark coin, and one to the right, for the white background.
Signal-to-noise ratio
All digital camera sensors have a certain level of background noise. The amount of noise you see in the end photo depends on several factors, including the signal to noise ratio. Signal, in this case, is light, so under exposure of light increases image noise.
I use 500 W studio strobes to shoot coins. I shoot all coins at an exposure of 1/160 second, at f14 at ISO 100, starting at power level 7 (out of 10) on my studio lights. With dark coins, my ETTR is to increase the light output from my studio light, without changing my other settings. Most coin photographers use much lower power lights, so now imagine shooting the same dark coin as I am, but in much dimmer light. To use the settings of 1/160 second and f14 you need to raise the ISO through the roof.
With high ISO, the quantity of light hitting the sensor during the exposure is a just a fraction of that for a photo taken at ISO 100. There is less signal, and the result is more noise in the final image. That’s the basic reason why there is more noise at high ISO settings than low ones.
ccd & cmos sensors
Let’s take a minute and talk about the CCD or CMOS sensors found in most digital cameras, because it’s really what this is about, and where the controversy stems. Typical DSLR sensors can capture seven stops of dynamic range and produce 12-bit raw image files, capable of recording 4096 tonal levels in each red/green/blue channel. The ability to record such a large number of tones should guarantee smooth transitions between the tones within the resulting image, however that is not the case.
Each of the seven stops in the range of the sensor don’t record an even number of tones throughout the dynamic range. F-stops are logarithmic, meaning each stop records half of the light of the previous one. Practically, this means that the brightest stop records half of the possible number of tones, i.e. 2048, the second stop records half again, i.e. 1024, and so on until the seventh stop records only 32 tonal levels.
There is detail in all areas of this coin image, including the darkest shadow under the building.
Bringing it together
All of this, when applied to dark coin photography, means that if you underexpose an image of a dark coin and intend to correct the exposure during in post processing, the tonal transitions in the darker areas will not be as smooth and you will lose detail in the shadows. When I say you lose detail, I really mean you didn’t capture any with the exposure. Degrading your image quality is almost assured. By shooting in Raw, and deliberately exposing to the right, and then stopping down afterward (during processing) the maximum amount of information is retained. Again, increasing the exposure does not mean increasing the ISO, as this does not actually increase sensor exposure. Instead, only the sensor's signal gain is increased and this increases noise.
Naturally, ETTR images with increased exposure will appear to be overexposed when taken and must be correctly processed (normalized) to produce a photograph to reflect the coin in hand. Be careful to avoid clipping any colour channels when editing, other than in acceptable areas such as specular highlights.
This Ancient Roman Sestertius, above, is a rich, dark coin with detail in all the shadows
If, by chance, your image has too large a contrast range, and this will be obvious when looking at the histogram, then HDR with luminosity masks is recommended, however, that is pretty rare with coin photography.
I hope this has been informative. Check out ETTR if you're interested.
It’s important to know that this article is not for beginners. If you don’t fully understand the fundamentals of exposure and Raw files then this article will be more confusing than helpful. But if you already know the basics and you’re looking to get the highest-quality images possible, ETTR is something that will benefit your coin photography.
Thanks for reading my blog. Follow me on Instagram at www.instagram.com/hipshotphotography
These images were all photographed with my Dynamic Axial Lighting system.


